How to Move WordPress from HTTP to HTTPS
Switching your WordPress website from HTTP to HTTPS is no longer optional. HTTPS protects user data, boosts SEO, improves trust, and is now a requirement for many modern web features. The good news is that migrating your WordPress site to HTTPS is easier than you might think—especially with hosting providers like JumboNIC, which offer free SSL certificates and built-in security features.
This step-by-step guide will show you exactly how to migrate your WordPress site from HTTP to HTTPS without breaking your layout, links, or SEO.
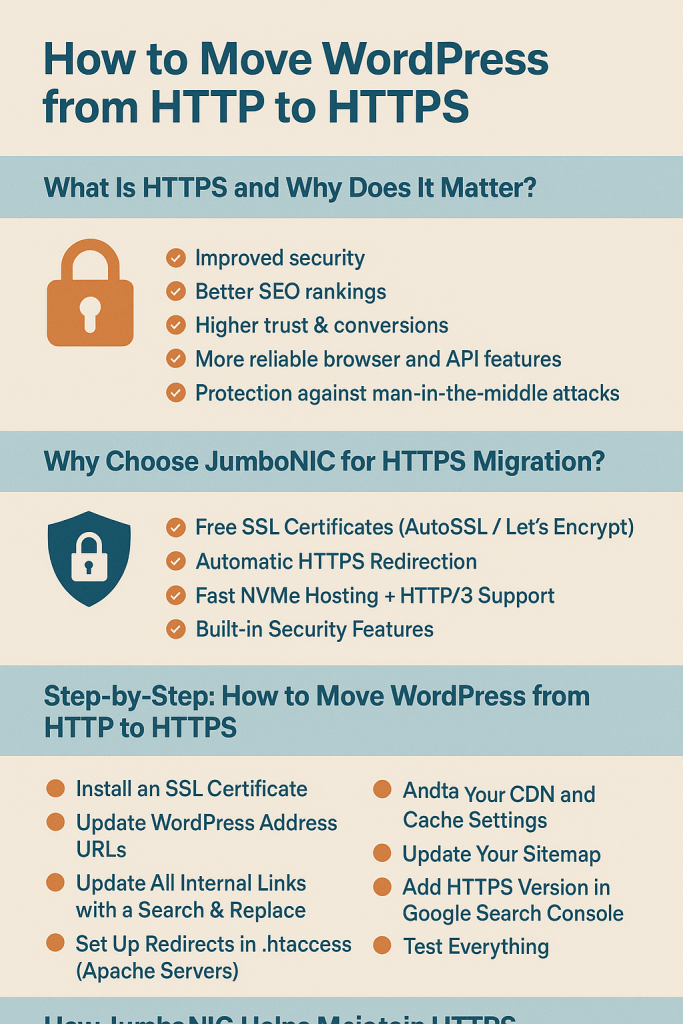
What Is HTTPS and Why Does It Matter?
HTTPS (HyperText Transfer Protocol Secure) encrypts the connection between your website and your visitors using an SSL/TLS certificate. This prevents attackers from snooping on data or injecting malicious content.
Key Benefits of HTTPS:
🔐 Improved security
🌐 Better SEO rankings (Google uses HTTPS as a ranking factor)
📈 Higher trust & conversions (browsers show a “secure” padlock)
⚡ More reliable browser and API features
🛡️ Protection against man-in-the-middle attacks
Modern browsers even label HTTP sites as “Not Secure”, which can scare visitors away.
Why Choose JumboNIC for HTTPS Migration?
Before starting the migration, it’s important that your hosting provider supports HTTPS properly.
JumboNIC makes this incredibly easy by offering:
✔ Free SSL Certificates (AutoSSL / Let’s Encrypt)
No configuration needed—install from the dashboard.
✔ Automatic HTTPS Redirection
Server-level redirects to avoid plugin clutter.
✔ Fast NVMe Hosting + HTTP/3 Support
HTTPS performs best on optimized servers.
✔ Built-in Security Features
DDoS protection, firewalls, and malware scanning.
With JumboNIC, you get a performance-optimized and secure foundation for your HTTPS setup.
Step-by-Step: How to Move WordPress from HTTP to HTTPS
Let’s walk through the full process.
Step 1: Install an SSL Certificate
Most WordPress sites use a free SSL certificate from Let’s Encrypt or AutoSSL.
On JumboNIC:
Log in to your JumboNIC control panel
Go to Security > SSL Certificates
Enable Free SSL
Confirm domain validation
Once installed, your domain will be able to serve HTTPS connections.
Step 2: Update WordPress Address URLs
Inside your WordPress Dashboard:
Go to Settings → General
Change these two fields:
WordPress Address (URL): https://yourdomain.com
Site Address (URL): https://yourdomain.com
Click Save.
Tip: Make sure both URLs use
https://and the correct www/non-www version.
Step 3: Update All Internal Links with a Search & Replace
Your site likely has URLs hard-coded with http://.
Fix them by replacing all HTTP URLs with HTTPS versions.
Use a plugin like:
Better Search Replace
Velvet Blues Update URLs
WP Migrate Lite
Or use WP-CLI:
wp search-replace 'http://yourdomain.com' 'https://yourdomain.com'
This ensures images, scripts, and internal links all load securely.
Step 4: Set Up Redirects in .htaccess (Apache Servers)
To force all traffic to HTTPS, add this to your .htaccess file:
<IfModule mod_rewrite.c>
RewriteEngine On
RewriteCond %{HTTPS} off
RewriteRule ^(.*)$ https://%{HTTP_HOST}%{REQUEST_URI} [L,R=301]
</IfModule>
This ensures every visitor is redirected to the secure version.
Step 5: Configure HTTPS on NGINX (If Applicable)
If your site uses NGINX, add this:
server {
listen 80;
server_name yourdomain.com www.yourdomain.com;
return 301 https://$server_name$request_uri;
}
Restart NGINX afterward:
sudo systemctl restart nginx
Step 6: Fix Mixed Content Issues
Mixed content errors happen when a page loads some insecure (HTTP) assets.
Use tools like:
Why No Padlock?
Chrome DevTools → Console tab
To automatically fix mixed content, you can use:
Really Simple SSL (beginner-friendly)
Cloudflare Auto HTTPS Rewrite
Proper search-and-replace (recommended)
Step 7: Update Your CDN and Cache Settings
If you use a CDN (like Cloudflare or JumboNIC’s CDN):
Change the URL to HTTPS
Enable HTTPS rewrite features
Purge the cache
Make sure your caching plugins like WP Rocket or LiteSpeed Cache also recognize HTTPS.
Step 8: Update Your Sitemap
Update your HTTPS URLs in:
Yoast SEO
Rank Math
All in One SEO
Then resubmit to Google Search Console.
Step 9: Add HTTPS Version in Google Search Console
You must add the HTTPS version of your domain:
Add
https://yourdomain.comAdd
https://www.yourdomain.com(if used)Submit the updated sitemap
Google will begin indexing the new version.
Step 10: Test Everything
Use these tools for checking:
SSL Labs Server Test
SecurityHeaders.com
Chrome DevTools (Network & Security tab)
GTmetrix or PageSpeed Insights
Look for:
✔ No mixed content
✔ Valid SSL certificate
✔ 301 redirects working
✔ Proper HTTPS headers
How JumboNIC Helps Maintain HTTPS Performance & Security
Regular HTTPS is great—but optimized HTTPS is even better.
With JumboNIC hosting, you get:
🔒 Always-On SSL Support
Automatic renewals so your site never expires.
⚡ HTTP/3 + QUIC Support
Significantly faster performance on HTTPS connections.
🌐 CDN Integration
Faster global delivery of your secure content.
🛡️ Server-Level Security
Firewalls, malware protection, DDoS mitigation.
🚀 NVMe Performance
Makes HTTPS processing even faster.
JumboNIC ensures your site stays secure, fast, and stable long after you migrate to HTTPS.
Conclusion
Migrating a WordPress site from HTTP to HTTPS is one of the most important steps you can take to improve:
✔ Security
✔ SEO rankings
✔ User trust
✔ Performance
✔ Browser compatibility
With the step-by-step process above—and the help of JumboNIC’s optimized hosting environment—you can complete the migration smoothly and safely.