📈 How to Add Your Website to Google Analytics
If you want to grow your website’s traffic, you need to understand who is visiting, what pages they view, and where they come from.
That’s exactly what Google Analytics tells you.
The best part? It’s free, and you can set it up in just a few minutes.
Let’s walk through it step-by-step.
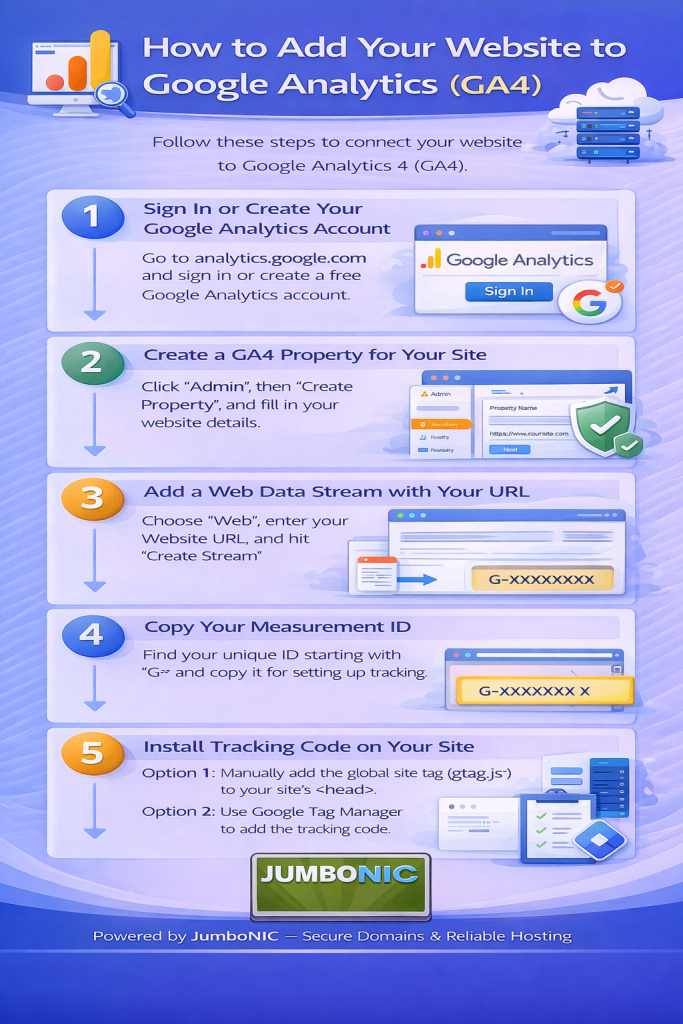
✅ Step 1: Sign in to Google Analytics
Go to: https://analytics.google.com
Sign in using your Google account (Gmail is fine).
Click Start measuring.
You’ll now create a new “property.”
This represents your website.
✅ Step 2: Create a Property for Your Website
Fill in the required details:
Property name: Your website name (example: MyBusinessWebsite)
Time zone: Your country
Currency: Any currency you prefer
Click Next.
Choose the business type (any is fine) and click Create.
✅ Step 3: Add Your Website URL
Select Web
Enter your website URL
Enter a Stream name (ex: Main Website)
Click Create Stream
Google will now show you a Measurement ID that looks like:
G-ABC123XYZ
Keep this open.
You’ll need it in the next step.
✅ Step 4: Add the Tracking Code to Your Website
If You’re Using WordPress (Most Common):
Option A: Install Plugin (Easy Method)
Go to your WordPress Dashboard
Go to Plugins → Add New
Search: “Site Kit by Google”
Install & Activate
Open Site Kit from the left menu
Follow the prompts to connect Google Analytics
Done. No code needed.
Option B: Add Code Manually (If You Prefer)
In Google Analytics, click View Tag Instructions
Copy the code snippet
Go to WordPress Dashboard
Visit Appearance → Theme File Editor
Select header.php
Paste the code before
</head>Save
✅ Step 5: Confirm Google Analytics is Tracking
Go to your website in a browser
Open a new tab and go to Google Analytics
Visit Reports → Real-time
If you see 1 active user, tracking is working.
Congrats! 🎉 Your site is now connected.
🚀 How JumboNIC Helps Improve Analytics Results
Analytics tells you what people do on your website.
But to keep visitors engaged, your hosting needs to be:
| JumboNIC Feature | Why It Matters |
|---|---|
| Fast loading speed | Visitors stay longer → lower bounce rate → better SEO |
| High uptime | Your site is always available to track visitors |
| Free SSL support | Secure websites rank higher & users trust them |
| Smooth WordPress install | Makes plugin setup (like Analytics) effortless |
When your site performs well, your Analytics numbers look better.
🏁 Final Takeaway
To add Google Analytics to your website:
Create a Google Analytics account
Add your website property
Install Site Kit (or paste the tracking code)
Confirm real-time tracking
Once it’s running, you can track:
Visitor counts
Popular pages
User behavior
Traffic sources
This helps you make smarter marketing decisions.